What to Do If Your Car Gets a Flat Tire

A flat tire can ruin your trip—whether you’re on the way to work, visiting family, or heading out for a holiday. It delays your journey, leaves you stranded on the roadside, and forces you to deal with changing or repairing the tire. That’s why it’s valuable to know how to fix a flat tire step by step. Today, MotorGuide explains exactly what to do when your car blows a tire and how to patch it properly.
Step 1: Find the Leak
Before patching, you must locate the leak. Here’s how:
- Inflate the tire to the correct pressure as specified in your vehicle’s manual.
- Inspect visually for holes, cuts, or protruding objects like nails.
- Listen for a hissing sound—a clear sign of air escaping.
- Feel with your hand for escaping air if it’s not visible or audible.
- Use soapy water: spray or pour it over the tire. If bubbles appear, you’ve found the leak.
Step 2: Remove the Tire
Once you confirm the leak, remove the tire for repair:
- Loosen the lug nuts with a wrench before lifting the car.
- Jack up the vehicle on a solid, flat surface and secure it with a jack stand.
- Remove the lug nuts fully and pull the wheel off the hub.
- Mark the leak area with chalk after removing any object (like a nail).
- Deflate the tire by removing the valve stem core.
- Break the bead between the rim and tire using a tire spoon and hammer, then remove the tire completely.
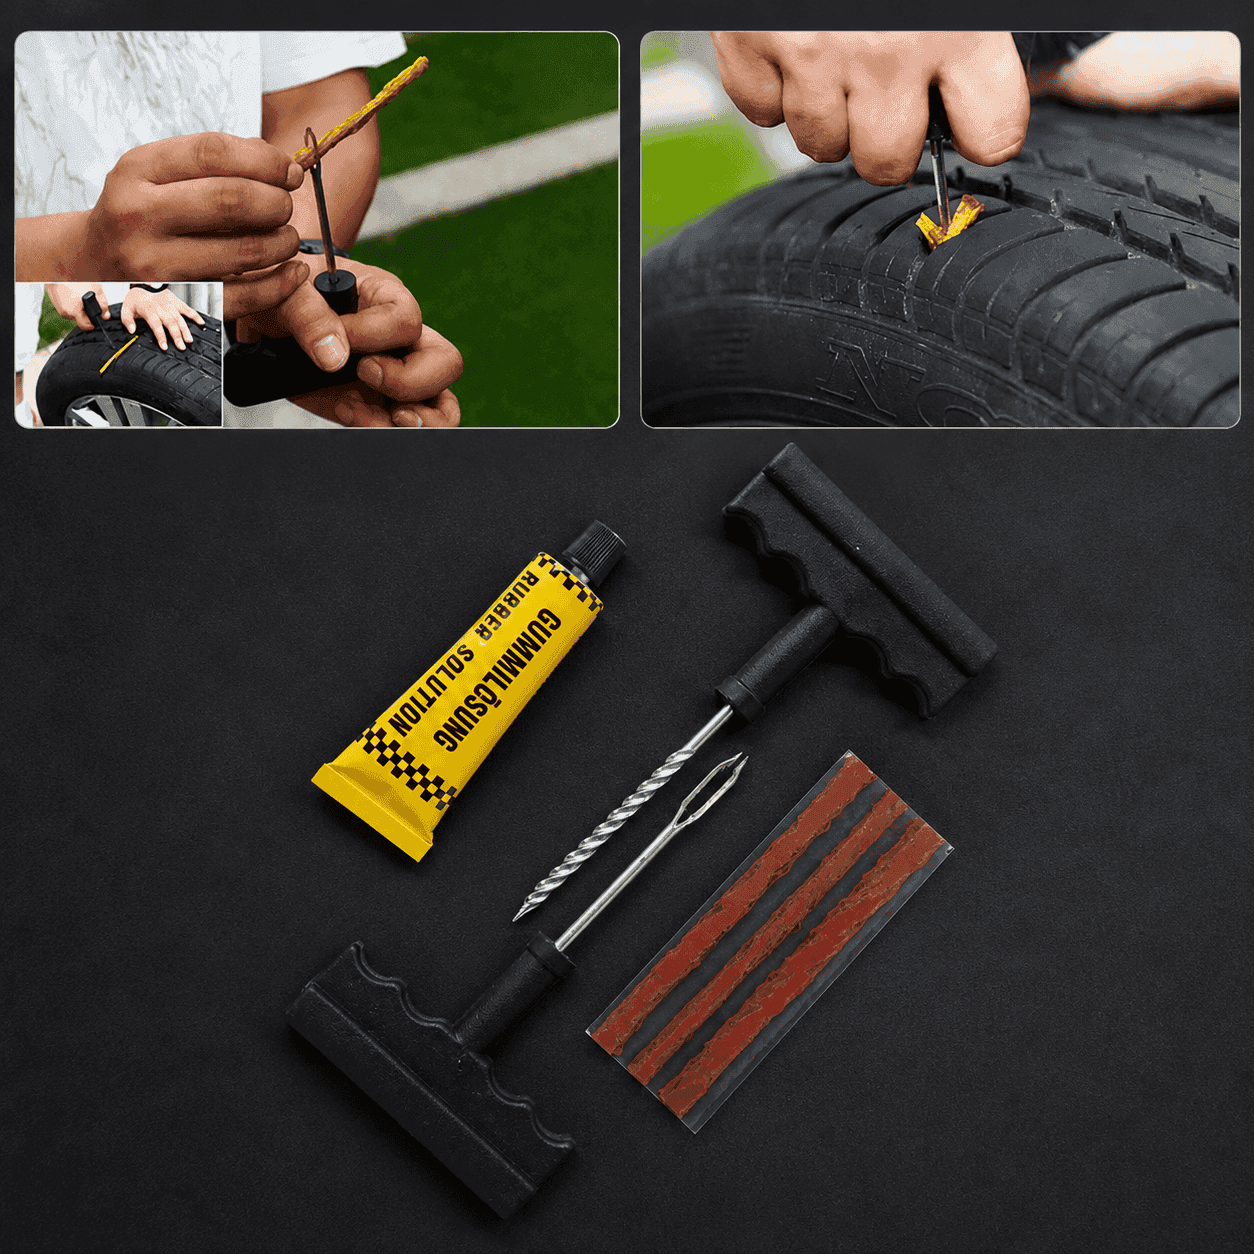
Step 3: Apply the Patch
Now it’s time to fix the puncture:
- Clean the hole with an air die grinder and roughen the surrounding area with a grinding stone.
- Spray compressed air to remove debris.
- Apply vulcanizing cement to the prepared area.
- Insert the patch: push the pointed end through the hole from the inside and pull it outward.
- Roll the patch from the inside to remove air bubbles and ensure a proper seal.
- Apply a rubber patch sealant over the area for extra protection.
- Trim the excess patch stem flush with the tread.
Step 4: Reinstall the Tire
After patching, reinstall the tire safely:
- Lubricate the bead with soapy water and refit the tire onto the rim.
- Install a new valve stem core (avoid reusing old ones).
- Inflate the tire to the recommended pressure—this helps reseat the bead.
- Mount the wheel back onto the hub, hand-tighten the lug nuts, and lower the vehicle.
- Torque the lug nuts to the manufacturer’s specifications.
How Long Will a Tire Patch Last?
If done properly, a patch repair can last as long as the tire itself. However, patches are generally suited for small punctures in the tread area. If the sidewall is damaged or the hole is too large, replacement is safer.
A flat tire is frustrating, but with the right knowledge, you can fix it yourself and get back on the road. Always carry the basic tools—jack, wrench, patch kit, and pump—in your vehicle. Knowing how to repair a puncture can save you time, money, and stress on your journey.

Written by
Nipuna Marasinghe